.png)


Water Damage Rebuild Checklist for Safe Repairs
- Lakeshore Restoration LLC
- 24 minutes ago
- 5 min read
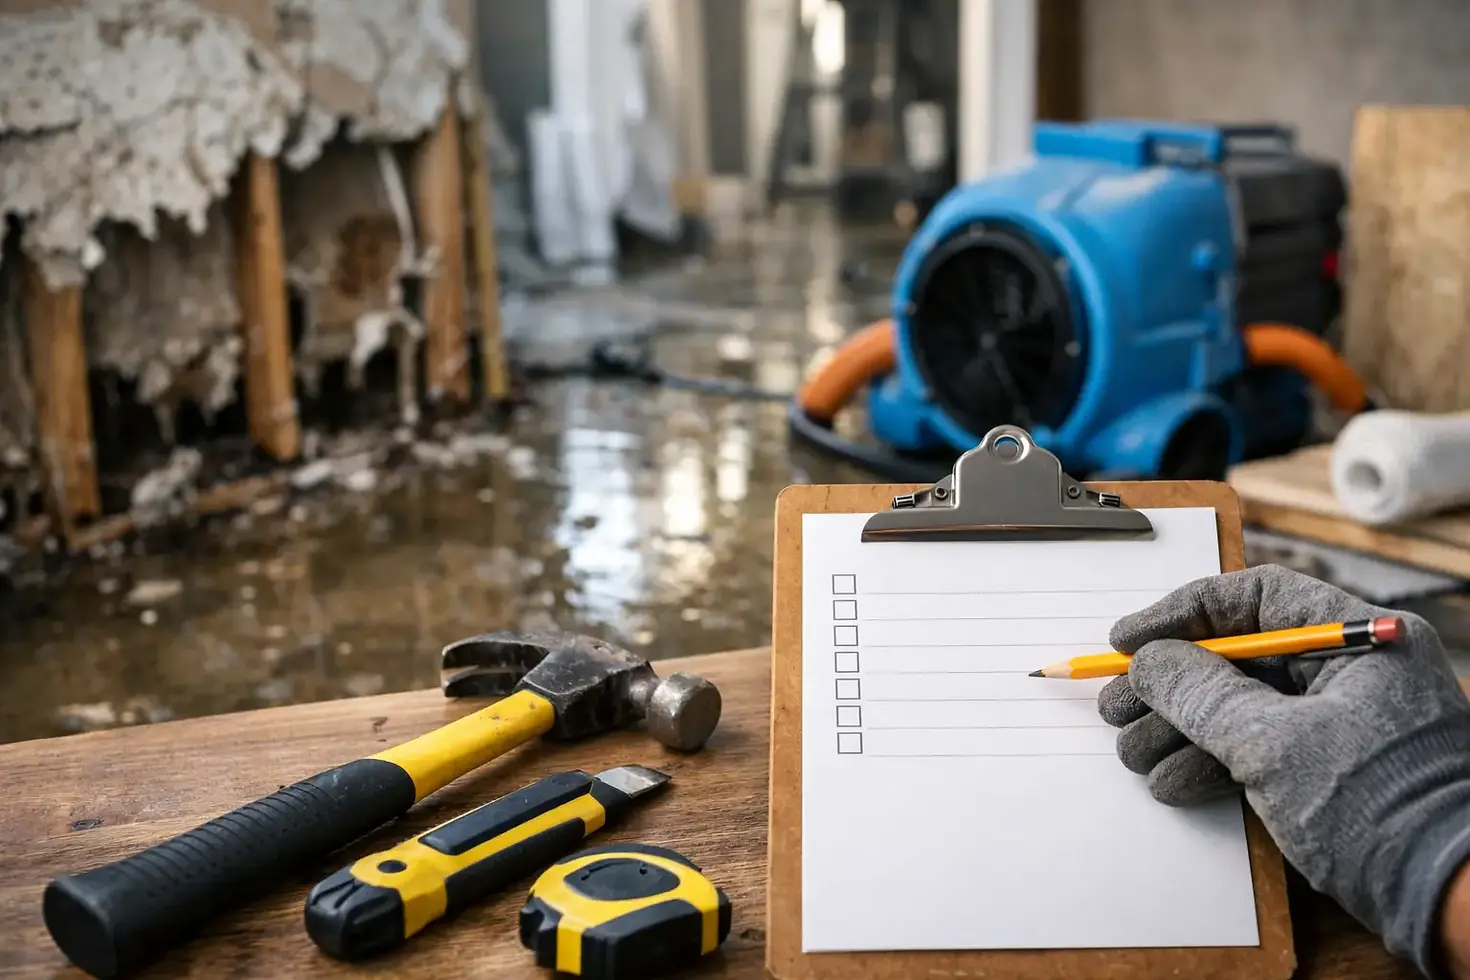
A room can look dry long before it is ready to rebuild. Installing new drywall, flooring, or cabinets over damp framing can trap moisture where you cannot see it, creating the conditions for mold, wood movement, odor, and repeat repairs. This water damage rebuild checklist helps Wisconsin property owners confirm that mitigation is complete before reconstruction begins.
The right sequence matters after a burst pipe, appliance leak, roof leak, flooded basement, or commercial water loss. Emergency extraction and drying protect the structure. Rebuild work restores function and appearance. When the two phases overlap without proper verification, a fast repair can become a costly second loss.
Water Damage Rebuild Checklist: Start Only After Drying
Reconstruction should not begin because carpet feels dry or because visible water is gone. It should begin when the affected materials and structure have been evaluated, documented, and cleared for repair.
Confirm the source of water is fixed
First, make sure the water source has been corrected. A new vanity will not solve a supply-line leak behind the wall, and fresh drywall will not stop water entering through failed flashing or a damaged roof. A qualified plumber, roofer, or building professional may need to address the source before finishes are replaced.
If the loss involved sewage, toilet overflow with contamination, or floodwater from outdoors, the work may require more removal and cleaning than a clean-water pipe leak. Contaminated porous materials such as insulation, carpet padding, and drywall often cannot be safely restored. Do not treat every water event the same.
Verify moisture readings, not appearances
Moisture testing is one of the most valuable checkpoints in the entire process. Professional restorers compare moisture readings in affected framing, subfloors, and other structural materials against dry, unaffected areas of the building. This establishes whether materials have returned to an acceptable drying standard.
Ask for clear documentation of the drying process, including affected areas, equipment used, moisture results, and any materials removed. These records help support an insurance claim and give the reconstruction team a reliable starting point. They also help avoid disputes later if a hidden condition is uncovered.
Inspect for damage behind finishes
Before walls and floors are closed, inspect the areas that will soon be inaccessible. That includes wall cavities, sill plates, studs, floor joists, subflooring, insulation, ductwork, and electrical penetrations. Look for staining, warping, corrosion, damaged fasteners, deteriorated wood, and visible microbial growth.
Not every wet material needs replacement. Solid wood framing can often be dried and retained if it has not lost structural integrity. Swollen particleboard cabinets, delaminated subflooring, and insulation that has absorbed contaminated water are different cases. The repair scope should match the material condition, not simply what is easiest to cover up.
Plan the Rebuild Scope Before Ordering Materials
A well-defined scope keeps a water damage rebuild organized and reduces delays. It should identify what will be repaired, what will be replaced, who is responsible for each trade, and what insurance has approved. For landlords and business owners, it should also account for occupied areas, access needs, and operational interruptions.
Separate emergency work from reconstruction work
Emergency mitigation commonly includes extraction, demolition of unsalvageable materials, cleaning, drying, and monitoring. Reconstruction may include insulation, drywall, paint, flooring, trim, cabinets, plumbing reconnection, electrical repairs, and final cleaning.
Keeping these phases distinct makes invoices and insurance documentation easier to understand. It also prevents a common mistake: approving cosmetic repairs before the drying and necessary demolition are fully complete. If supplemental damage is found after opening a wall or removing flooring, document it before covering the area again.
Review insurance documentation carefully
Photographs, moisture logs, a detailed estimate, invoices, and a record of removed materials can all support the claim. Save receipts for emergency plumbing, temporary protection, storage, and reasonable measures taken to prevent additional damage.
Insurance policies vary. Some cover sudden and accidental water losses but limit coverage for long-term seepage, backups, mold, or code upgrades. Do not assume a denial or partial approval is the final word, but do not begin upgrades beyond the approved scope without understanding your out-of-pocket responsibility. Your contractor can provide repair documentation, while claim coverage decisions remain with the insurer.
Decide what to restore and what to improve
Rebuilding is an opportunity to make practical choices, but upgrades should be intentional. Waterproof luxury vinyl may be a smart replacement for damaged laminate in a basement. A higher-end cabinet selection, however, may exceed replacement cost and create a price difference for the owner.
Consider durability, room use, future maintenance, and availability. Matching existing materials may matter in a visible living area or commercial lobby. In a utility room, a more moisture-tolerant, easy-to-clean finish may be the better investment. Lead times can also affect the schedule, especially for cabinets, specialty flooring, and custom trim.
Complete Repairs in the Right Order
Once the structure is dry, clean, and approved for repair, the rebuild should move from hidden systems to finished surfaces. Skipping the order often means removing new work to reach something that should have been repaired first.
A typical reconstruction sequence includes:
Repairing structural framing, subfloors, and damaged sheathing
Completing electrical, plumbing, HVAC, and insulation work inside walls or ceilings
Installing drywall, taping, finishing, priming, and painting
Replacing flooring, cabinets, doors, trim, fixtures, and other finish materials
Completing final cleaning, testing, and a walkthrough
The order can change depending on the loss. For example, flooring may need to go in before certain cabinet installations, while a commercial space may require phased work to keep part of the building open. The key is coordination between trades and clear approval before each surface is closed.
Check electrical and mechanical systems
Water can affect outlets, switches, wiring, furnace components, water heaters, appliances, and HVAC equipment. Never assume these systems are safe because they turn on. Have qualified professionals inspect equipment that was wet, exposed to high humidity, or located in the affected area.
Ductwork also deserves attention when water damage involves ceiling cavities, crawlspaces, or a heavily contaminated loss. Wet insulation around ducts, debris inside returns, or persistent odor can affect indoor air quality after the visible repairs are finished.
Use materials suited to the location
Material selection should reflect the risk in that part of the building. In lower levels, laundry rooms, entryways, and bathrooms, consider moisture-resistant drywall where appropriate, durable baseboards, water-resistant flooring, and properly sealed transitions. These materials will not prevent every future loss, but they can limit damage and simplify cleanup.
Do not confuse water-resistant with waterproof. Even resilient finishes can fail when water reaches the subfloor, wall edges, or adhesive. Good installation details, functioning drains, and prompt leak repairs remain essential.
Do Not Close the Job Without a Final Walkthrough
Before signing off, walk through every repaired area with the contractor. Check that doors operate correctly, flooring transitions are secure, paint and drywall finishes are consistent, fixtures function, and trim lines are complete. Open cabinets, test outlets and lights, run plumbing fixtures, and look under sinks for leaks.
Ask for warranty information, final invoices, photographs of completed work, and records of any repairs made inside concealed areas. Keep these documents with your insurance claim information and property maintenance records. They can be useful if you sell the property, manage a rental, or need to establish the history of a future issue.
Watch for warning signs in the weeks after reconstruction: a musty smell, new staining, lifting flooring, peeling paint, soft baseboards, or recurring humidity. These do not always mean the rebuild failed, but they should be investigated quickly rather than hidden with caulk or paint.
For homes and businesses in Two Rivers, Manitowoc, Sheboygan, Green Bay, and nearby communities, Lakeshore Restoration LLC can manage the process from emergency water mitigation through structural repairs and reconstruction. Certified assessment, thorough documentation, and skilled repair work give property owners one accountable team when the situation is already complicated.
A careful rebuild protects more than the appearance of your property. Before the last wall is closed or the final floorboard is installed, make sure the structure is dry, the scope is documented, and every repair has a clear purpose.


Comments