.png)


How to Document Water Damage for Insurance Claims

Updated: Aug 6
A burst pipe, appliance leak, roof leak, or flooded basement can change the condition of a property by the hour. Knowing how to document water damage gives your insurance carrier and restoration team a clear record of what happened, what was affected, and what steps were necessary to prevent further loss. Start as soon as it is safe to do so, but never delay emergency mitigation just to collect perfect photos.

Make the Area Safe Before You Start
Water and electricity are a dangerous combination. If water is near outlets, electrical panels, appliances, or extension cords, stay out of the affected area until power can be safely shut off or a qualified professional confirms it is safe. Do not enter a ceiling area that is sagging or bulging with water. It can collapse without warning.
If the water came from a sewer backup, toilet overflow involving waste, outdoor flooding, or another contaminated source, limit contact with the water and keep children and pets away. Category 3 water, often called black water, can contain harmful bacteria and requires professional cleanup practices.
Once immediate safety concerns are addressed, stop the source if you can do so safely. Shut off the water supply to a leaking fixture, turn off a malfunctioning appliance, or place a container under a small active leak. For larger losses, call for 24/7 water damage help right away. Extraction, drying, and moisture monitoring should begin quickly because materials such as drywall, insulation, flooring, and wood framing can retain moisture long after visible standing water is gone.
How to Document Water Damage Step by Step
Good documentation tells a simple, chronological story. It should show the source of the water, the areas it reached, the personal property involved, and the actions taken to reduce additional damage.
Take wide photos first, then close-ups
Begin with wide-angle photos or video of each affected room. Stand in doorways and corners so the images establish the room layout and show the full scope of damage. Capture water on floors, wet walls, damaged ceilings, soaked carpet, warped flooring, and any contents that were exposed.
Then take close-up photos of specific damage. Photograph peeling paint, swollen baseboards, wet insulation, stained ceilings, buckled wood flooring, damaged cabinets, and water lines on walls. If the source is visible, document it before repairs begin. A photo of a failed supply line, leaking water heater, overflowing appliance, or roof opening may help establish the cause of loss.
Use video as well. A slow walkthrough can provide useful context that individual photos miss. Narrate the room, the date, and what you are seeing, but keep the recording factual. For example: “Water is present in the basement family room, carpet is saturated, and water has reached the lower drywall.”
Do not edit, filter, or overwrite original files. Back them up to cloud storage, email them to yourself, or save copies in more than one location. Keep the original image files whenever possible because they may contain date and time information.
Record the date, time, and cause
Write down when you first noticed the damage, when the water source was stopped, and when you contacted your insurance company and restoration contractor. If you do not know the exact start time, say so. An honest estimate is better than guessing.
Your notes should also identify the likely source. Was the water from a broken pipe, dishwasher supply line, ice maker, sump pump failure, storm-related roof leak, or sewer backup? If a plumber, HVAC technician, roofer, or appliance repair company identifies the cause, retain their written findings and invoice.
A basic incident log can be kept in a phone note or notebook. Include the name of each person you speak with, their company, the date and time of the conversation, and any claim number provided by your insurer. This becomes especially helpful if the claim takes weeks or involves multiple rooms, vendors, and repair decisions.
Create a room-by-room inventory
Walk through the property and document damaged belongings before disposing of them, when it is safe to do so. List the item, brand, model number, approximate age, and estimated cost to replace. For higher-value items, add purchase receipts, appraisal records, warranty documents, or older photos that show the item before the loss.
Pay attention to items that may not look severely damaged at first. Upholstered furniture, mattresses, area rugs, books, paper records, electronics, and wood furniture can absorb moisture or develop mold if they are not dried properly. Photograph serial numbers on televisions, computers, tools, appliances, and other equipment where available.
For commercial properties, document affected inventory, equipment, tenant areas, stored materials, and any interruption to normal operations. Keep records of emergency purchases, temporary closures, employee communications, and efforts taken to protect inventory or maintain operations. Coverage varies by policy, so complete records give your insurance representative more information to evaluate the claim.
Save Every Expense and Service Record
Keep receipts for reasonable emergency measures, including water extraction, temporary tarping, plumbing repairs, dehumidifier rental, cleaning supplies, hotel stays, and meals if the property is uninhabitable. Your policy and adjuster determine what is covered, but receipts are difficult to recreate after the fact.
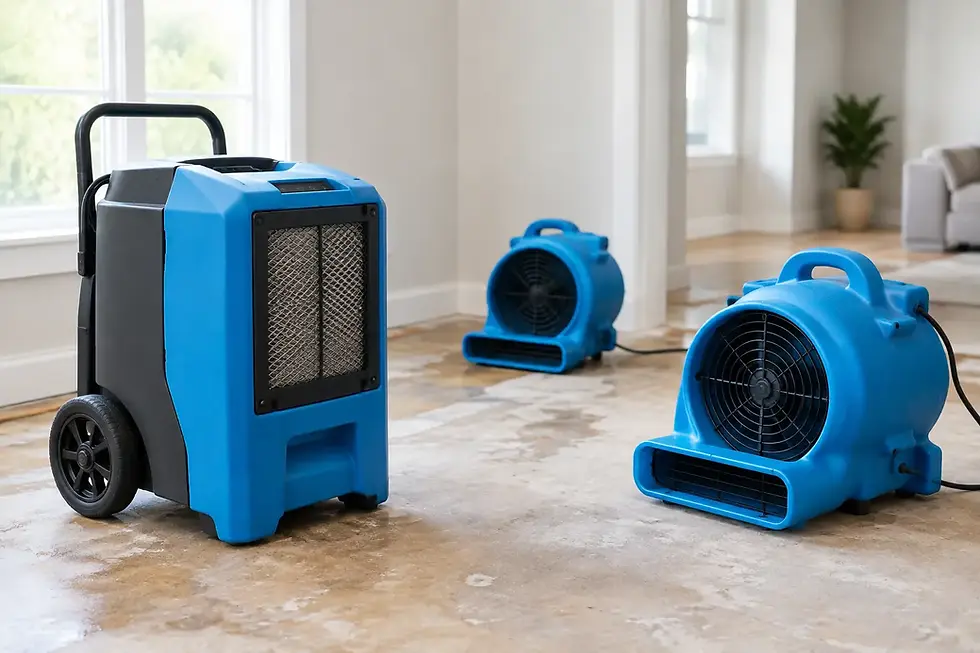
Also retain invoices and reports from restoration professionals. A proper water mitigation file may include moisture readings, equipment placement records, drying logs, photographs, demolition documentation, material testing results, and an itemized estimate. These records can show why drying equipment, removal of damaged materials, or reconstruction work was necessary.
Lakeshore Restoration LLC can provide documentation that supports the mitigation process while performing the work needed to return a property to a safe, dry condition. That matters when hidden moisture is present behind walls, beneath flooring, or inside building assemblies where a surface photo alone cannot show the full extent of the loss.
Do Not Throw Away Damaged Materials Too Soon
Many property owners want to clear out damaged carpet, drywall, furniture, or belongings immediately. That reaction is understandable, especially when the property is wet and stressful to be around. Still, take thorough photos and check with your insurer before discarding major items whenever possible.
If wet materials must be removed quickly to control damage or contamination, save samples or clear photographs of the materials first. For example, photograph the carpet, pad, baseboards, drywall cut line, and affected contents before removal. Keep damaged parts from appliances or plumbing fixtures if they may help identify the source, unless a professional needs them removed for safety.
There is a practical trade-off here: preserving evidence should not create a health hazard or allow moisture damage to worsen. Wet drywall, saturated insulation, contaminated carpet, and mold-prone contents may need prompt removal. Document first, then prioritize safe mitigation.
Work With the Adjuster, but Keep Your Own File
Report the claim promptly and ask for the claim number. Your insurer may send an adjuster, request photos, or ask for an inventory and estimate. Provide accurate information, answer questions directly, and keep copies of everything you send.
Do not rely on verbal conversations alone. Follow up important discussions by email or write a brief note documenting what was discussed. If an adjuster authorizes a step, requests additional documentation, or asks you to preserve an item, record that instruction.
Avoid signing a final settlement or agreeing that all repairs are complete before the scope of damage is understood. Water can travel beneath floors, wick up drywall, and affect insulation, cabinetry, subflooring, and framing. A qualified restoration assessment with moisture testing can help identify conditions that are not visible in initial photos.
When Professional Documentation Makes the Difference
Small, contained leaks may be manageable with basic photos, a repair invoice, and prompt drying. Larger events require more detailed records, particularly when water has affected several rooms, building materials, personal property, or electrical systems. The same is true for sewage backups, storm water intrusion, and losses that have been present long enough for mold growth or structural damage to become a concern.
Certified restoration professionals document moisture conditions during the drying process, not just the visible damage at the start. That record helps guide safe drying decisions and can support discussions about materials that cannot be restored. It also gives property owners a clearer path from emergency cleanup through final repairs.
The best time to document water damage is immediately after the loss, but the next best time is now. Take clear photos, keep a simple timeline, save your records, and get qualified help before hidden moisture turns a manageable water event into a larger repair.


Comments